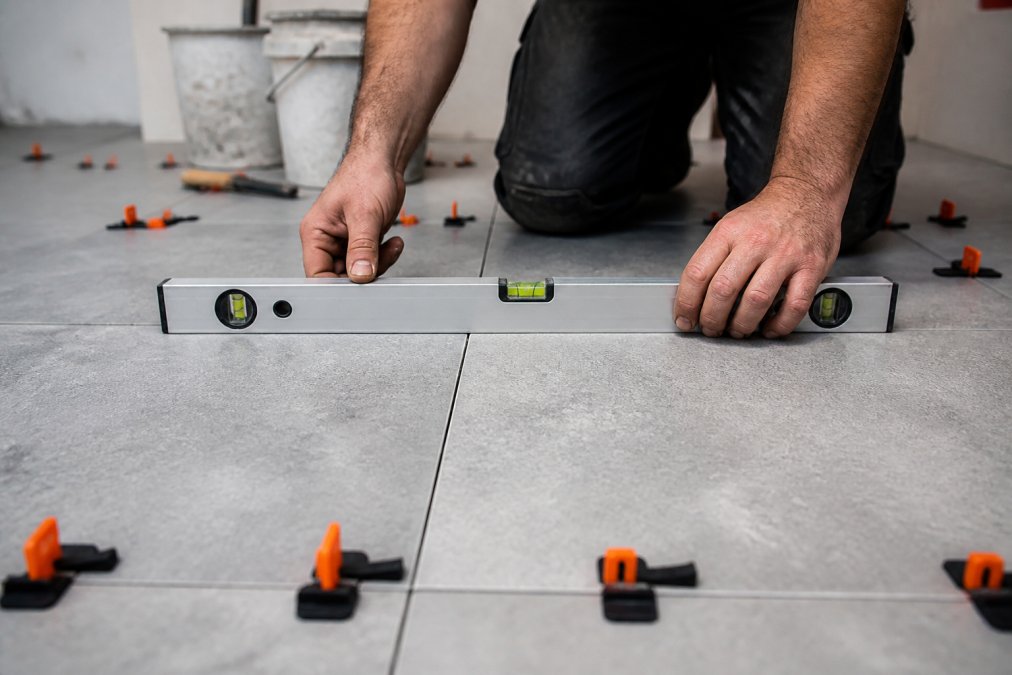
 how-to
Preventing Lippage in Large Tile: 2026 Pro Guide
Table of Contents
- Why Large Format Tile Lippage Happens (And Why It's Costly)
- Large Format Tile Substrate Preparation: The Foundation of Flat
- ANSI A108.02 Standards for Lippage: What's Actually Acceptable
- Tile Leveling System Benefits: Clips, Wedges, and Mechanical Control
- Mortar Coverage, Trowel Notch Size, and Back-Buttering Technique
- Tile Offset, Pattern, and Warpage: The 1/3 Rule Explained
- Fixing Lippage After Installation: Remediation and Inspection
- Frequently Asked Questions
Last Updated: September 23, 2026
Why Large Format Tile Lippage Happens (And Why It's Costly)
Preventing lippage in large tile starts with understanding what you are fighting, and preventing lippage is cheaper than fixing it. Lippage is the uneven height between two adjacent tiles, showing up as a shadow or sharp edge where one tile sits higher than its neighbor. Large format tiles make this worse because they are longer, heavier, and rarely perfectly flat.
The Real Causes: Substrate, Mortar, and Tile Warpage
Most lippage traces back to one of three culprits:
- Substrate problems - an uneven floor or a floor that flexes under load
- Mortar problems - too little coverage, the wrong thin-set, or mortar that slumps
- Tile warpage - tiles that curve slightly during manufacturing
A tile can be warped and still meet its grade, so the tile itself is rarely the whole story. The substrate and mortar bed decide whether that slight curve becomes a visible lip.
Tile Council of North America installation standards
Large Format Tile Substrate Preparation: The Foundation of Flat
The best tile setter cannot fix a bad floor. Large format tile substrate preparation is where the job is won or lost, and it is the step most rushed.
Checking Subfloor Deflection and Flatness
Subfloor deflection is how much the floor bends under weight. Too much flex, and grout cracks and tiles pop. Check flatness with a long straightedge, then mark every high and low spot before you touch a trowel.
- Use a straightedge long enough to span the whole room
- Mark high spots to grind and low spots to fill
- Fix structural flex before any tile goes down
Self-Leveling Underlayment and Surface Irregularities
Self-leveling underlayment pours out and finds its own flat plane, the fastest fix for surface irregularities across a large floor. Prime the substrate first, mix to the exact ratio, and let it cure fully before setting tile.
ANSI A108.02 Standards for Lippage: What's Actually Acceptable
The acceptable lippage limit depends on your grout joint width and whether the tile has a rectified edge. ANSI A108.02 sets these tolerances and is the reference an inspector will use.
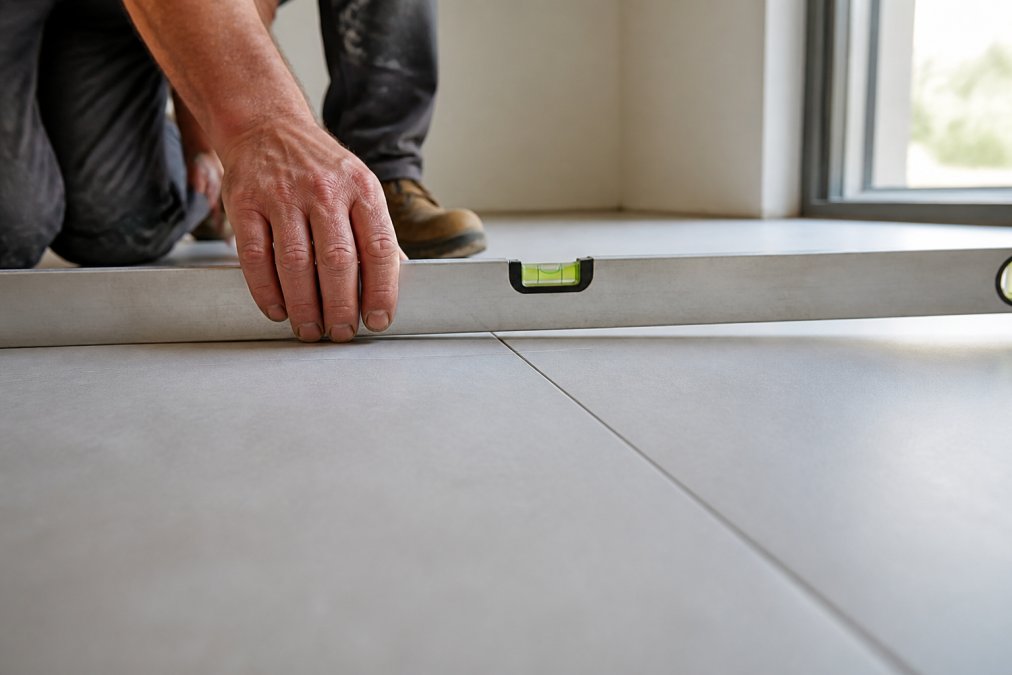
The short version:
- Wider grout joints allow more lippage
- Narrow joints allow almost none
- Rectified tiles, which are cut square after firing, tolerate less than pressed-edge tiles
Tile Leveling System Benefits: Clips, Wedges, and Mechanical Control
A tile leveling system pulls adjacent tiles into the same plane while the mortar cures. Clips sit under the tile edges, wedges lock them tight, and the assembly holds the surface flat, mechanical control you cannot get by hand.
| System Part | What It Does | Why It Matters |
|---|---|---|
| Clips | Sit under tile edges | Set the base plane |
| Wedges | Lock clips tight | Pull tiles level |
| Spacers | Hold joint width | Keep grout lines even |
| Tension tool | Tightens wedges | Consistent pressure |
Mortar Coverage, Trowel Notch Size, and Back-Buttering Technique
Full mortar coverage is the goal, and trowel notch size decides how much thin-set you lay down. A larger notch leaves taller ridges that flatten into fuller coverage under a heavy tile. But coverage percentage is the number that actually matters.
Trowel Notch Size by Tile Format
The notch size has to match the tile. Undersized notches starve the bed; oversized ones leave ridges too tall to collapse under the tile's weight.
- 12 x 12 tile: 1/4 x 3/8 inch square-notch trowel is typical
- 18 x 18 to 24 x 24 tile: 1/2 x 1/2 inch square-notch or U-notch trowel
- Tile with deep back-pattern lugs: 3/4 inch U-notch, plus back-buttering
- Large-format thin porcelain panels: 1/4 x 1/4 inch notched trowel on the substrate plus a 1/8 inch flat skim on the back
Thin-Set Mortar Selection for Large Format Tiles
Large format tiles need a thin-set engineered for them. The relevant properties are slump resistance, non-sag performance, and extended open time.
- Slump resistance keeps the mortar bed from sagging under a heavy tile before it cures. A standard thin-set can slump, and a slumping bed is a lipped tile.
- Non-sag (NS) designation matters most on walls, where a heavy tile will slide down the wall if the mortar cannot hold it.
- Extended open time (E) buys working time on a large floor where you cannot set every tile within the standard 20 to 30 minute window.
- Large and heavy tile (LHT) designation is the ANSI A118.4 or A118.15 classification specifically written for tile 15 inches and larger on at least one side. If the bag does not carry LHT, it is not formulated for this work.
Troweling Technique and Mortar Slump
Comb the mortar in one direction with the notched edge held at a consistent 45-degree angle. Flatter leaves ridges too short; steeper leaves them too tall. Consistency across the floor makes coverage predictable.
Tile Offset, Pattern, and Warpage: The 1/3 Rule Explained
Offset patterns change how lippage shows up. A 50% running bond, where each tile starts at the midpoint of the one below, makes warped tile lips far worse. The fix is the 1/3 rule: offset each row by no more than one-third of the tile length.
- 50% offset: maximum lippage on warped tile
- 1/3 offset: less lippage, still a clean pattern
- Stacked bond: no offset, so no pattern-driven lippage
Fixing Lippage After Installation: Remediation and Inspection
Fixing lippage after installation is harder than preventing it, but some cases are salvageable. The approach depends on how bad the lip is, the tile material, and how long the mortar has cured. Here is what a pro actually does.
Step 1: Measure the Lippage Before You Touch Anything
Do not eyeball it. Run a straightedge across the joint and measure the height difference with a feeler gauge or shims. Compare the number to the ANSI A108.02 tolerance for your grout joint width and tile edge type. If the lip is within tolerance, the correct fix is often nothing, grinding a tile that meets standard can void a warranty and create a worse visual problem.
Step 2: Reset a High Tile Before Full Cure
If the mortar has not fully cured, typically within 24 to 48 hours, depending on product and ambient conditions, a single high tile can sometimes be pulled and reset. Work a stiff putty knife or margin trowel under an edge, lift slowly, and clean old mortar off the tile back and substrate. Re-comb fresh mortar, re-set the tile, and re-check with the straightedge.
Step 3: Grind and Polish the Edge (Stone and Porcelain Only)
Once the mortar has cured, resetting is usually off the table. For natural stone and through-body porcelain, where color runs all the way through, a lipped edge can sometimes be ground down and polished flush.
- Use a variable-speed wet polisher with diamond pads, starting coarse and stepping up through finer grits.
- Keep the pad wet. Dry grinding generates heat that can crack the tile and dust that is a respiratory hazard.
- Match the factory finish. A honed stone needs a different final grit than a polished one, and a polished porcelain needs a polishing compound, not just a fine pad.
- Feather the grind into the surrounding surface so you do not create a visible dip.
Step 4: Replace the Tile
When grinding is not an option, the tile comes out. Score the grout joints around the tile with a grout saw or oscillating tool, then break the tile out from the center with a chisel and hammer, working outward so you do not chip neighbors. Chip out old mortar, vacuum the cavity, and check substrate flatness before setting the replacement.
Visual Inspection Checklists and Grout Joint Width
Run a visual inspection before the job is called done, and again after grout. Walk the floor in raking light, which reveals lips that look flat in overhead light. Wall wash lighting and low-angle sunlight expose the lippage a homeowner will notice after move-in.
- Run a straightedge across several joints in multiple directions
- Measure the worst lip with a feeler gauge and compare to ANSI A108.02
- Check grout joint width for consistency across the floor
- Look for shadow lines at tile edges under raking light
- Tap tiles for hollow spots
- Confirm coverage on at least one pulled tile
- Photograph the floor under raking light before grout, so you have a record
American National Standards Institute standards overview
Frequently Asked Questions
How much tile lippage is acceptable?
ANSI A108.02 sets the standard: for grout joints 1/4 inch or wider, lippage must not exceed 1/32 inch. For narrower joints, it must not exceed 1/16 inch. For large format tiles with rectified edges, the tolerance tightens further. These limits apply to both floor and wall installations. Anything beyond these thresholds is considered a defect, not a normal variation. Always check the specific ANSI standard for your tile type and joint width before signing off on an installation.
How do tile leveling systems prevent lippage?
A tile leveling system uses clips and wedges to mechanically pull adjacent tiles into the same plane while the thin-set cures. The clips sit under the tile edges, and the wedges tighten them together, eliminating edge-to-edge height differences. This is especially useful for large format tiles where warpage and substrate irregularities make manual leveling difficult. The system doesn't replace proper substrate prep or mortar coverage, but it adds a mechanical safeguard that reduces the risk of lippage during installation.
Can lippage be fixed after the thin-set has cured?
Yes, but it's labor-intensive. Once thin-set cures, you can't simply press tiles down. Remediation options include grinding down the higher tile edge with a diamond pad, removing and resetting the tile (which risks damaging adjacent tiles and waterproofing), or using a grout that visually masks the height difference. Grinding is the least invasive but can alter the tile's finish. Removal and resetting is the most reliable fix but should be done by a professional to avoid compromising the substrate or waterproofing layer.
What is the 1/3 rule for large format tiles?
The 1/3 rule states that when installing large format tiles in a running bond or offset pattern, the offset between tile ends should not exceed one-third of the tile's length. This reduces the chance of lippage caused by tile warpage. A 1/2 offset (the traditional brick pattern) can amplify height differences at the corners where warped tiles meet. Many manufacturers now specify a 1/3 offset maximum for large format tiles, and following it is one of the simplest ways to prevent lippage before it starts.
Lippage is a system problem, and it rewards the contractor who controls every layer: substrate, mortar, and setting. RTS Remodel builds that control into every project, from meticulous substrate preparation and waterproofing to the final architectural details. Our team handles complex custom showers, unusual materials, and historic structures where precision is not optional. Get started with RTS Remodel and request an estimate for a floor that stays flat for good.