 How-to
5 Steps to Design a Custom Shower Bench
Last Updated: November 19, 2026
Quick Summary
To design a custom shower bench, plan its dimensions and placement before tile goes up, build a frame anchored to studs with the right substrate, then waterproof the top, front face and every seam with slope toward the drain. Finish by planning tile layout and maintaining sealant and grout joints.
- A back-wall bench keeps the drain clear, while a corner bench saves floor space.
- A floating bench needs solid wood blocking screwed between the studs before the wall goes up.
- Waterproofing must cover the bench top, front face and every seam where it meets wall and floor.
- Bench edges take a trim piece or mitered return, and large-format tile needs full support underneath.
- Check sealant at bench joints periodically and re-caulk when it pulls away.
Table of Contents
- Step 1: Plan Your Custom Shower Bench Dimensions and Placement
- Step 2: Build the Bench Frame and Choose Your Substrate
- Step 3: Waterproof the Bench and Shower for a Waterproof Shower Bench
- Step 4: Tile the Bench and Match It to Your Shower Design
- Step 5: Finish the Details and Plan for the Long Haul
- Frequently Asked Questions
Step 1: Plan Your Custom Shower Bench Dimensions and Placement
A custom shower bench is framed and sized before tile goes up. If you'd rather have it built and waterproofed for you, see our bathroom remodeling and custom showers services in Boise and Meridian. A back-wall bench keeps the drain clear, while a corner bench saves floor space.
Step 2: Build the Bench Frame and Choose Your Substrate
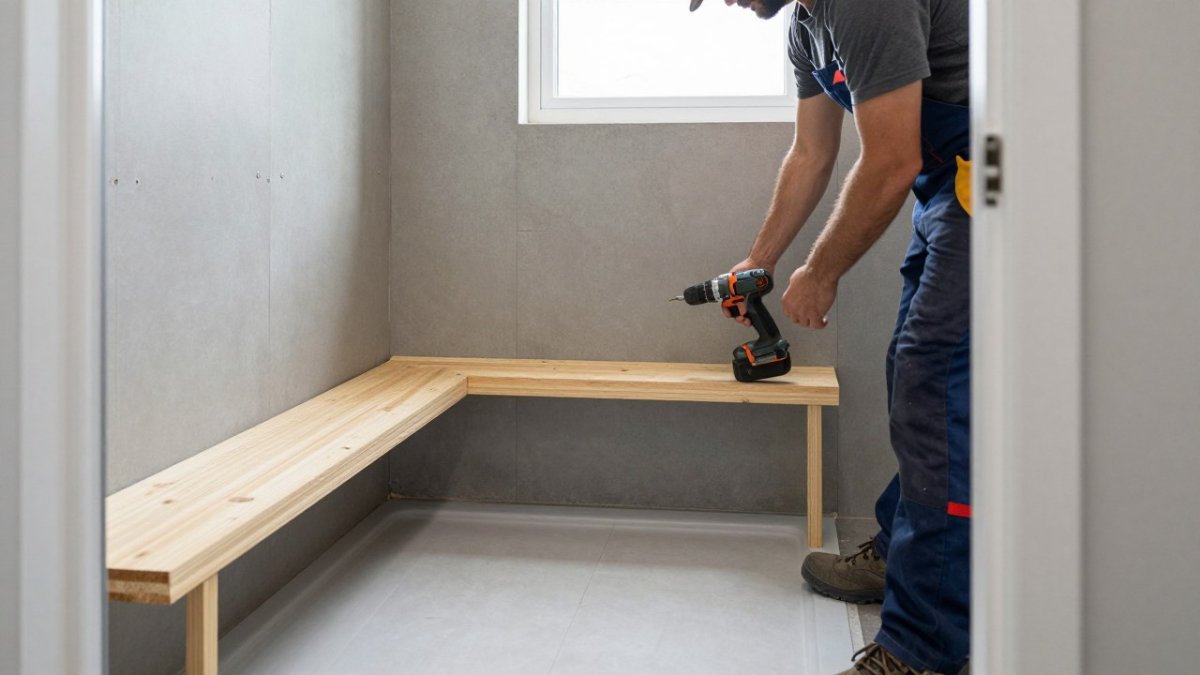
The frame carries the seat; the substrate is what tile bonds to, and both must handle weight, moisture, and movement. Our tile installation substrate prep steps help you get the bench frame and backer surface right before tile goes on. Frames are commonly built from lumber anchored to studs, with other substrates as alternatives.
| Bench Method | Best For | Watch Out For |
|---|---|---|
| Wood frame with cement board | Most custom benches | Frame must be solid and anchored to studs |
| Foam board bench | Fast installs, lighter weight | Needs the manufacturer's approved system |
| Floating bench | Small showers, clean look | Requires solid blocking inside the wall |
A common mistake is skipping the blocking: a floating bench needs solid wood blocking screwed between the studs before the wall goes up.
Step 3: Waterproof the Bench and Shower for a Waterproof Shower Bench
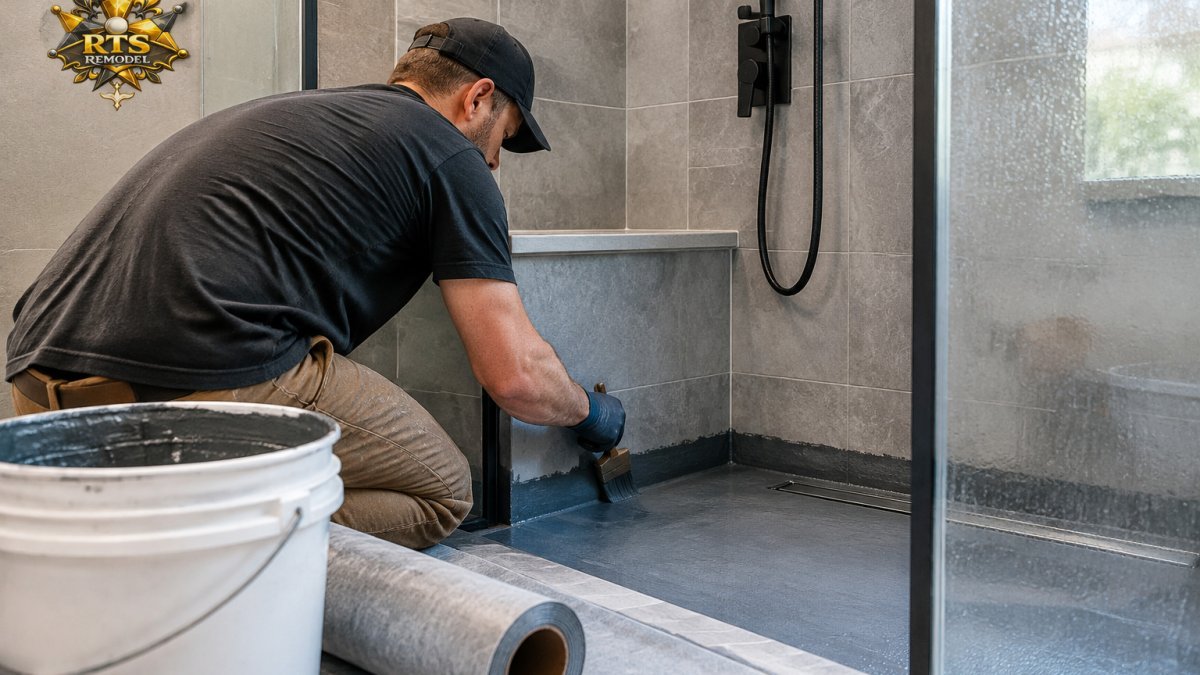
A waterproof shower bench needs membrane coverage on its top, front face, and every seam where it meets the wall and floor, and the slope has to send runoff toward the drain rather than trapping it. Before committing, compare liquid vs sheet membrane waterproofing systems. For the full membrane and detailing process, see our step-by-step waterproofing guide.
Step 4: Tile the Bench and Match It to Your Shower Design
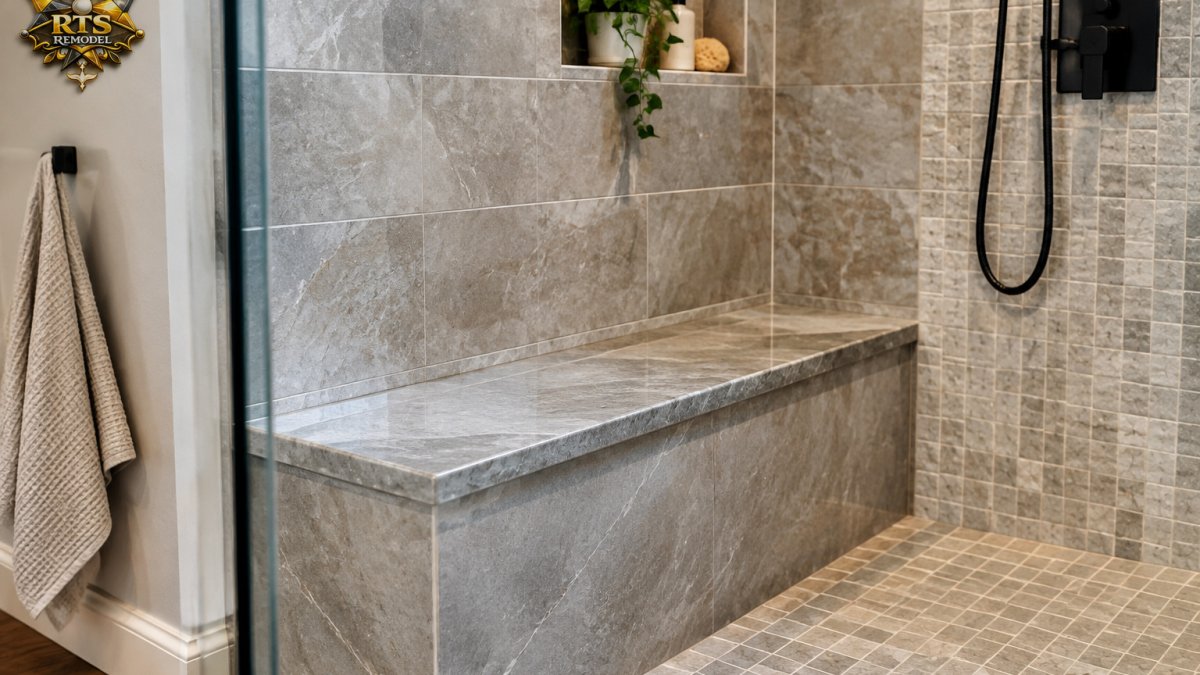
Plan the layout before the first tile goes on so bench top, front face, and edges line up with wall tile and grout joints. Bench edges take a trim piece or mitered return, and large-format tile needs full support underneath.
Step 5: Finish the Details and Plan for the Long Haul
Check the sealant at the bench joints periodically and re-caulk when it pulls away, and fix a loose tile or cracked grout line early. A bench fails first when the hidden work is rushed, which is why we treat substrate prep and waterproofing as the real build. If you'd rather hand the whole thing to a crew, our custom showers & tile services cover custom shower work from start to finish, and it can be part of a complete bathroom remodel here in the Treasure Valley.
Most shower bench problems trace back to planning and waterproofing, not the tile on top. If you want a bench that is framed, waterproofed, and tiled to last, RTS Remodel handles complete bathroom transformations across the Treasure Valley, from substrate prep and membrane work to custom tile and stone. We coordinate the whole project from demolition to final details so the hidden work matches the finish. Get started with RTS Remodel and request an estimate for your custom shower.
Frequently Asked Questions
How deep should a shower bench be?
A comfortable seat depth is measured from the front edge to the back wall. Deeper benches look generous but eat into standing room in a walk-in shower, so measure your shower footprint first. If the bench doubles as a step or a shaving ledge, keep the front edge rounded and the surface slightly pitched so water runs off instead of pooling against the wall.
Should a shower bench slope toward the drain?
Yes. The bench seat needs a slight pitch, roughly 1/8 to 1/4 inch per foot, so water runs off the seat and down to the shower pan rather than sitting on the surface. That slope has to be built into the framing and substrate before tile goes down. A flat bench can lead to standing water and grout discoloration.
Can you add a bench to an existing shower?
Often, yes, but it depends on the shower pan and how much floor space you can give up. Adding a bench to an existing shower can involve building a framed seat, tying it into the waterproofing, and re-tiling part of the walls, depending on the shower. A floating shower bench is another option when you want the seat without a solid base blocking the floor. Either way, the waterproofing has to be redone correctly at the new seams.