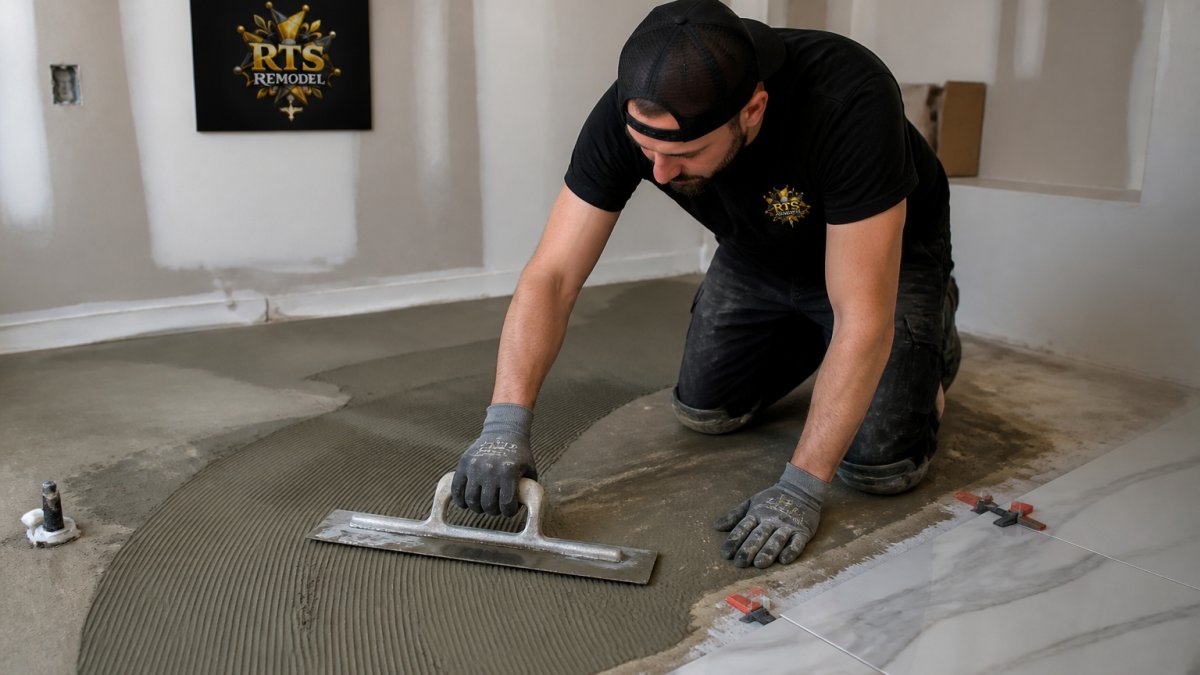
 how-to
Tile Installation Substrate Prep Steps That Last
Table of Contents
- Why Substrate Preparation Decides How Long Your Tile Lasts
- Subfloor Deflection Standards and Structural Stability Checks
- Cleaning, Repairing and Flattening the Surface Before Tile Goes Down
- Frequently Asked Questions
Last Updated: September 28, 2026
Why Substrate Preparation Decides How Long Your Tile Lasts
Tile installation substrate preparation steps are the difference between a floor that looks good on day one and one that still looks good in year ten. The tile is only as good as what's under it. At RTS Remodel, we've pulled up failed floors where the tile itself was fine. The substrate underneath was the problem.
Here's the part most homeowners never see. Once tile goes down, the substrate disappears. So does every shortcut taken to get there.
A floor can look perfect at grout time and still fail within a year. Grout cracks. Tiles pop loose. Lippage shows up where the surface wasn't flat. None of that is a tile problem. It's a prep problem.
That's why we treat substrate work as the job, not the warm-up. The finished floor is just the visible result.
Subfloor Deflection Standards and Structural Stability Checks
Deflection is how much a floor bends under load. Too much flex, and tile cracks, no matter how good the mortar is. Most tile failures start here, not at the surface.
The industry standard for tile is L/360 for ceramic and L/720 for stone. That means the floor can't bend more than its span length divided by 360 or 720. A pro checks joist size, spacing, span, and subfloor thickness before anything else happens.
- Ceramic tile: L/360 minimum
- Natural stone: L/720 minimum
- Subfloor panel thickness matters as much as joist size
- A floor that feels solid underfoot can still fail the deflection test
If the numbers don't work, we fix the structure first. Adding a beam, sistering joists, or adding a second layer of subfloor are common fixes. Skipping this step is the fastest way to a failed floor.
Cleaning, Repairing and Flattening the Surface Before Tile Goes Down
Flat and level are not the same thing. A floor can be perfectly level and still be too wavy for large-format tile. That's where lippage comes from.
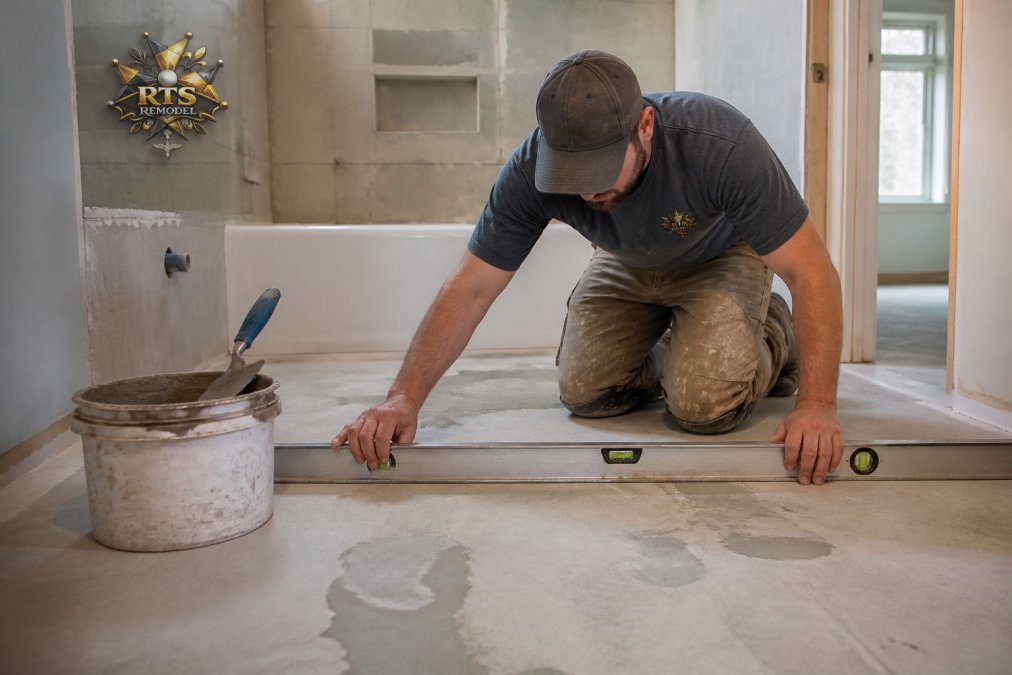
Before any leveling compound goes down, the surface has to be clean and sound. Paint, drywall mud, adhesive residue, and laitance all block a proper bond. Loose material has to come off, not get covered up.
From there, we check flatness with a long straightedge and fill low spots with a patching or leveling compound. Cracks get treated, not ignored. In wet areas like showers, waterproofing membrane goes on next, over a properly prepped and primed surface.
- Scrape and grind off old adhesive, paint, and residue
- Patch cracks and divots before leveling
- Prime the surface so the leveler bonds correctly
- Check flatness with a straightedge, not by eye
Poor prep shows up as cracked grout, hollow-sounding tile, and lippage. By the time you see it, the fix means tearing the floor out. That's the kind of rework our Custom Showers & Tile and Tile & Stone Installation crews are called in to correct, and it's why we'd rather get the substrate right the first time.
Frequently Asked Questions
What is the difference between a level floor and a flat floor for tile?
Level means the surface sits true to gravity, while flat means it has no dips or humps across its length. A floor can slope slightly toward a drain and still be perfectly flat, which is what tile needs. Large-format tile especially will rock or lippage over even a small dip, so we check flatness with a long straightedge before any thin-set goes down.
How do you identify structural deflection in a subfloor?
Deflection is movement in the floor structure under load, and it is the number one cause of cracked grout and popped tile. We check joist size, spacing, span and subfloor thickness against the deflection standard for the tile being installed, since natural stone and large-format tile demand a stiffer floor than ceramic. A floor that bounces or flexes when walked on is a warning sign.
When is an uncoupling membrane necessary for tile installation?
An uncoupling membrane separates the tile from normal movement in the substrate, which helps prevent cracked grout and tenting. It is worth using over concrete that has control joints, over plywood subfloors, and in rooms with radiant heat where expansion and contraction are constant. In wet areas, the membrane also works with the waterproofing layer to keep moisture out of the structure.
Substrate prep isn't glamorous work. It's the work that decides whether your tile lasts five years or twenty-five. If you're planning a bathroom or kitchen remodel in the Treasure Valley, our team handles everything from structural checks and waterproofing to the final grout line. Get started with RTS Remodel and build a floor that holds up. Request an estimate today.