 how-to
Install Tile Over Existing Backsplash: Step-by-Step
Table of Contents
- Can You Install Tile Over Existing Backsplash?
- How to Prepare Existing Tile for Backsplash Overlay
- Install Tile Over Tile Backsplash: Materials and Process
- Frequently Asked Questions
Last Updated: October 7, 2026
Can You Install Tile Over Existing Backsplash?
Yes, you can install tile over backsplash on an existing surface without full demolition. A solid substrate and the right adhesive separate a lasting backsplash from one that fails in months.
The real question is whether your existing surface is suitable. Old tile, laminate, and painted drywall each present different challenges. Homeowners who assess the substrate and choose the right adhesive often get lasting results; those who skip these steps may end up with loose tiles or grout cracks within a year.
How to Prepare Existing Tile for Backsplash Overlay
Assess your existing backsplash. Ceramic and subway tile are easiest; laminate and certain paints create bonding challenges.
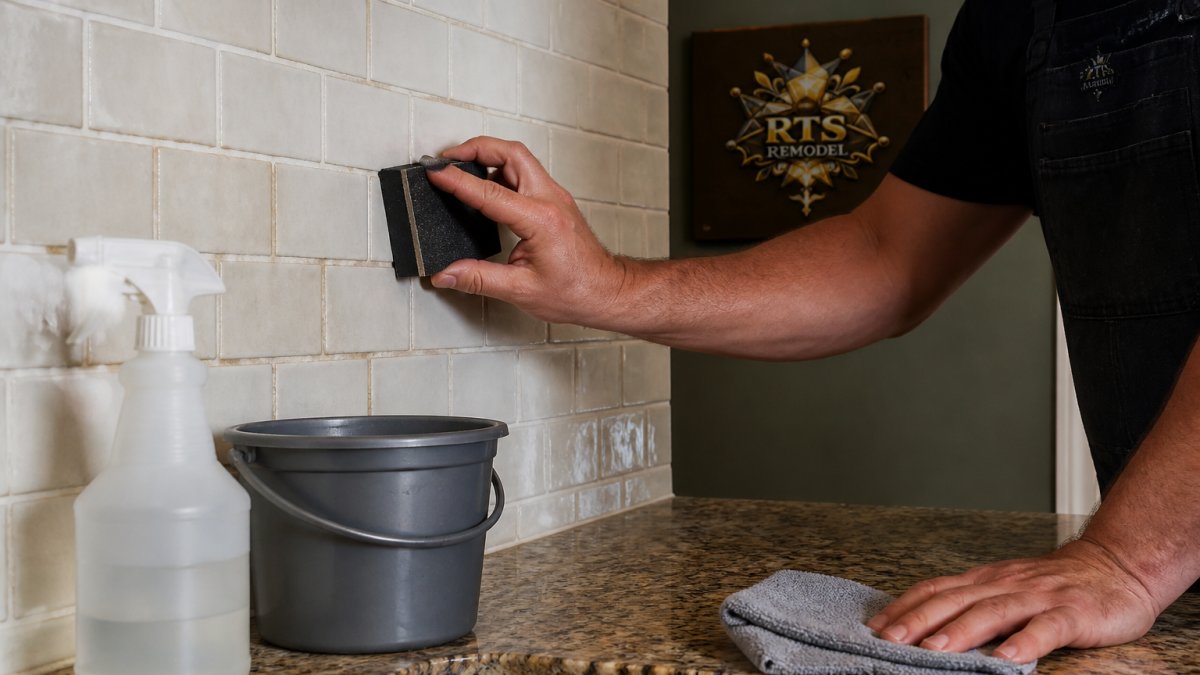
Clean and degrease thoroughly. Remove cooking oil, dust, and soap buildup with a degreaser, then let dry completely, residue blocks adhesive.
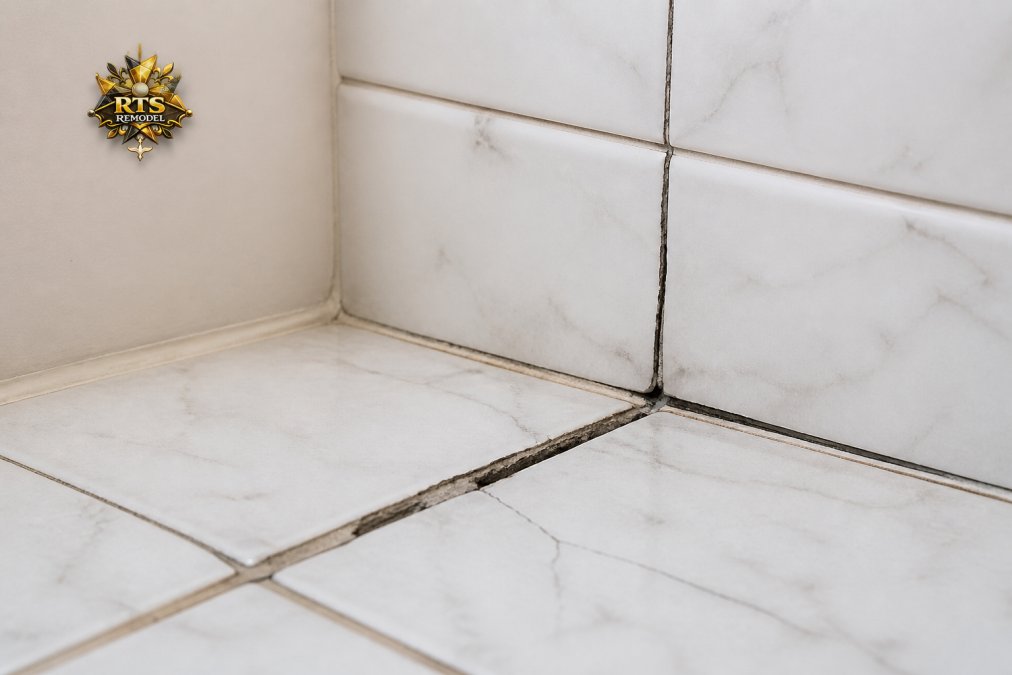
Check for loose or damaged tile. Tap with a small hammer and listen for hollow sounds. Loose tiles must be removed or secured; if several are loose, consider full removal.
Sand the surface. Use 120-150 grit sandpaper in circular motions to create mechanical grip. Just dull the glazed finish.
Fill gaps and holes. Fill voids with thin-set mortar or epoxy filler, let cure, then sand smooth.
Choose the right adhesive. Polymer-modified thin-set designed for tile-over-tile applications is the professional choice when you install tile over backsplash; adhesive mats are less reliable on vertical surfaces.
Consider waterproofing. Moisture can still find its way behind new tile, so a waterproofing membrane adds a safety layer, especially near the stove or sink.
Install Tile Over Tile Backsplash: Materials and Process
Materials: polymer-modified thin-set, new tile, spacers, grout, caulk, waterproofing membrane, grout sealer. Tools: notched trowel, tile cutter or wet saw, grout float, sponge, level, tape measure, mixing bucket.
Installation steps:
-
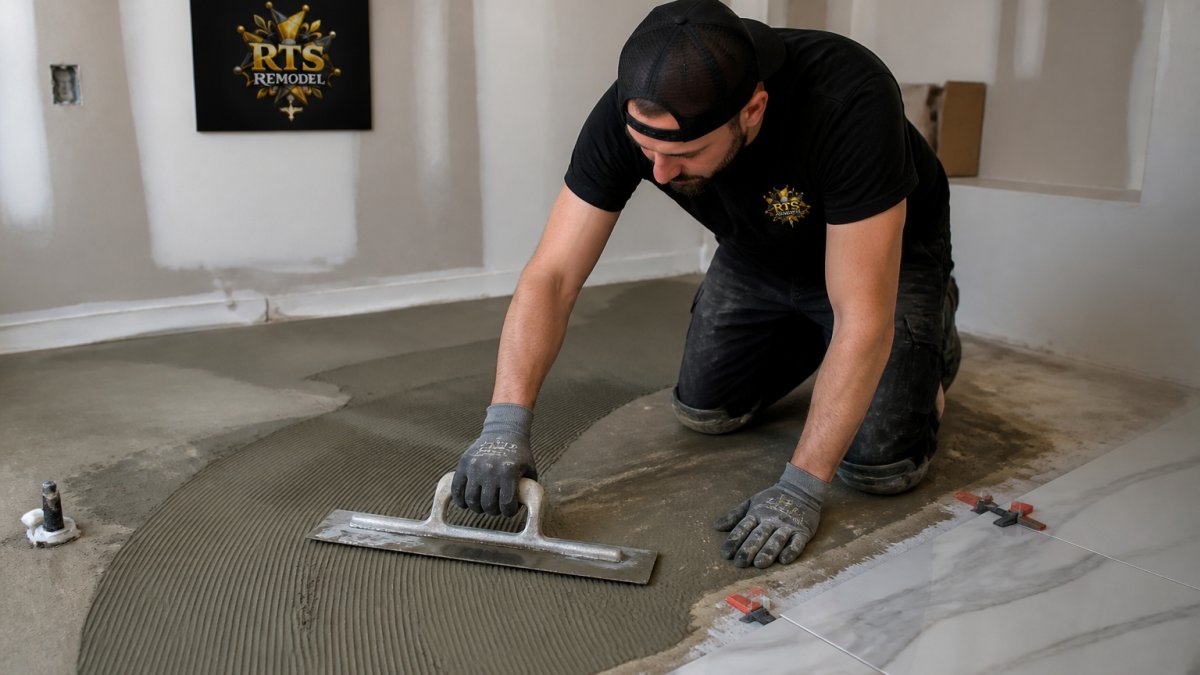
Apply thin-set mortar. Spread thin-set with a notched trowel held at 45 degrees, creating consistent ridges. Work in small sections.
-
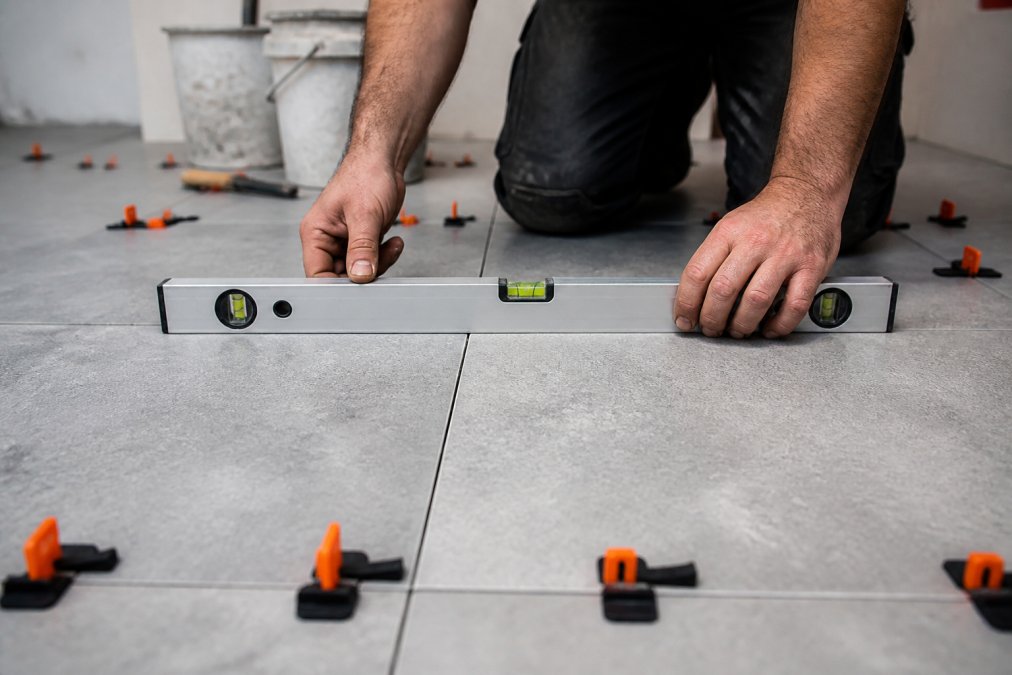
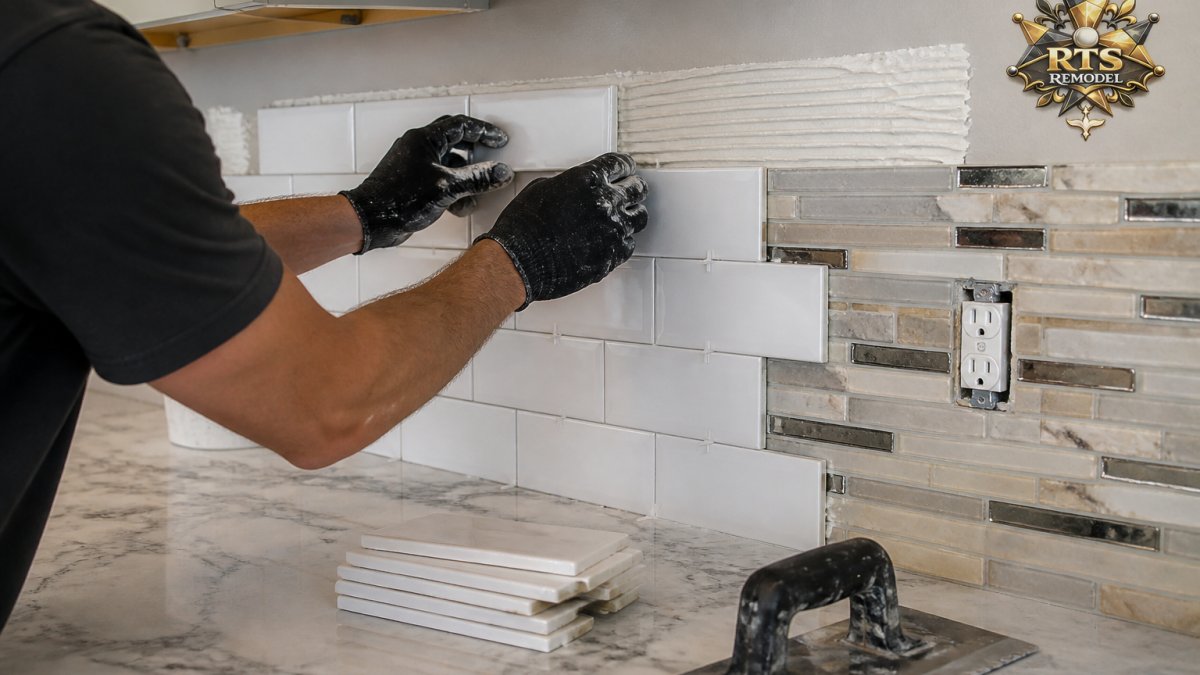
Set tile firmly. Press each tile with a slight twisting motion, using spacers for even grout lines. Check for level frequently; lippage creates cleaning problems.
-
Let mortar cure. Wait the full manufacturer-recommended time, usually 24 hours, before grouting.
-
Apply grout. Mix to peanut butter consistency, press into joints with a grout float working diagonally, and remove excess before it hardens.
-
Clean grout haze. Once grout firms slightly, wipe tiles with a damp sponge, rinsing frequently, to remove haze and smooth grout lines.
-
Seal grout. Once grout cures fully (usually 72 hours), apply sealer to protect against staining and moisture.
-
Caulk transitions. Where tile meets countertop or cabinet edges, use caulk instead of grout. Caulk flexes with movement. Grout cracks under stress.
The entire process typically takes about a week, including cure time.
Installing tile over an existing backsplash is achievable when you respect the prep work. Surface preparation, proper adhesive selection, and attention to detail determine whether your backsplash looks great for years or develops problems within months. If you're uncertain about your substrate or want professional-grade results, the Tile Council of North America offers guidance on proper installation standards. For homeowners in the Treasure Valley planning a kitchen refresh or complete remodel, RTS Remodel handles everything from substrate assessment through final grout sealing. Our Kitchen Backsplashes and Tile & Stone Installation services cover the hidden work, waterproofing, proper mortar application, and substrate preparation, so your backsplash stays beautiful and functional. Request an estimate to discuss your backsplash project and explore whether overlay or full renovation makes sense for your kitchen.
Frequently Asked Questions
Can I tile over my backsplash instead of replacing it?
Yes, you can install tile over existing backsplash if the original tile is firmly bonded, not cracked or loose, and the wall is structurally sound. The existing tile serves as your substrate. Proper surface preparation, cleaning, degreasing, and sanding, is essential for bond strength. However, overlay adds thickness, which affects outlet placement and countertop clearance. If the original tile is failing or the wall has water damage, removal is the safer choice.
What's the difference between thin-set mortar and adhesive tile mats for overlays?
Thin-set mortar provides superior bond strength and is the professional standard for installing tile over tile backsplash. It requires proper mixing and application with a notched trowel. Adhesive tile mats (peel-and-stick) are simpler for DIY work but offer less reliability, especially in moisture-prone kitchen environments. Thin-set cures slowly and develops stronger long-term adhesion, reducing the risk of tiles popping off after a year or two.
How much thicker will my backsplash become, and how does that affect outlets?
Tile thickness varies, but adding even a single layer of ceramic or subway tile, typically 3/8 to 1/2 inch plus thin-set, shifts your countertop gap. Electrical outlets may become recessed or misaligned. You'll need outlet box extensions to bring switches and outlets flush with the new tile surface. Measure your existing gap and tile thickness before starting to confirm outlets can be properly extended.
What are the main disadvantages of tiling over existing tile?
The biggest risks are poor adhesion if the original tile isn't properly prepared, hidden moisture problems in the substrate, and added weight on drywall. Overlay also increases thickness, complicating outlet and trim transitions. If the existing tile has any loose sections or the wall has a history of water damage, you're building on an unstable foundation. Removal eliminates these uncertainties but costs more time and labor.