 How-to
Prepare Uneven Subfloors for Large-Format Tile
Table of Contents
- Assess Your Subfloor and Identify Problem Areas
- How to Level a Subfloor for Tile Installation
- Self-Leveling Underlayment for Tile and Large-Format Tile Lippage Prevention
- Frequently Asked Questions
Last Updated: October 14, 2026
Assess Your Subfloor and Identify Problem Areas
Large-format tile demands a flat surface; even small dips or humps cause lippage, cracking, and tiles that rock underfoot. The first step in preparing uneven subfloors large-format tile is a thorough inspection.
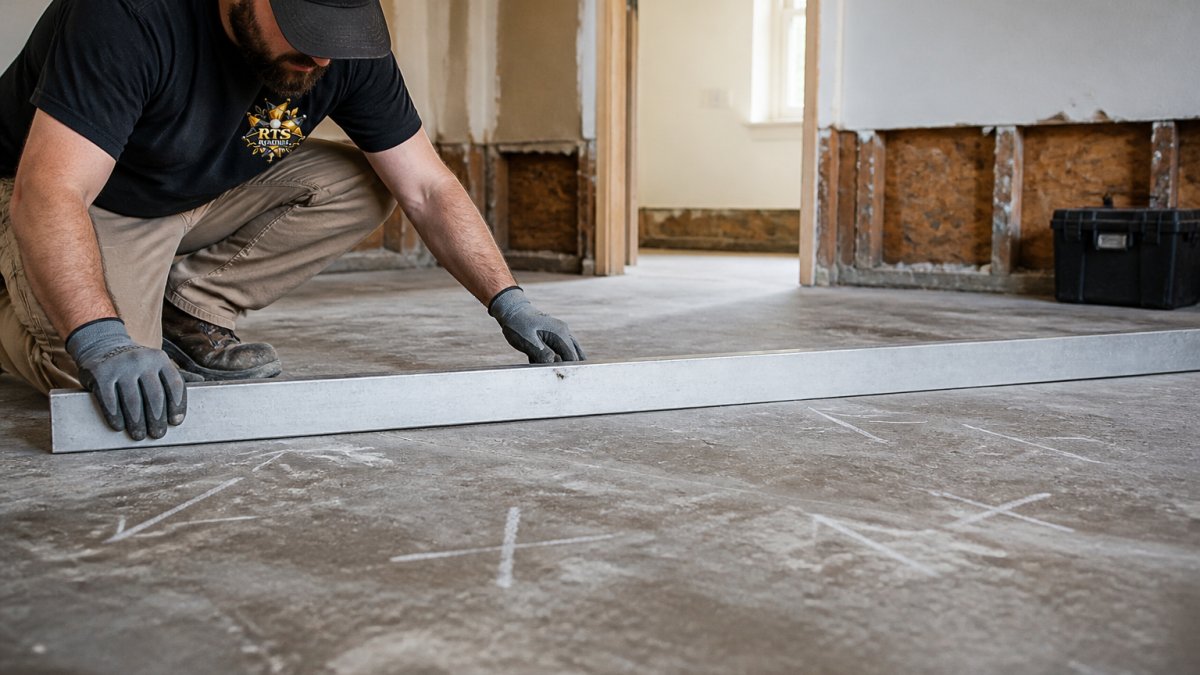
Walk the floor barefoot and feel for movement, then use a straightedge or level to check flatness across the entire area. Mark high and low spots with chalk or tape so you know exactly what you're dealing with.
Wood subfloors are especially prone to movement. Check for squeaks or flex under weight, loose or damaged plywood, water damage or stains, and gaps between boards.
Concrete subfloors need attention too. Look for spalling, cracks wider than 1/8 inch, and crumbling surfaces. Any sign of dampness means addressing the root cause before tiling.
How to Level a Subfloor for Tile Installation
Once you've identified problem areas, choose your correction method based on severity.
For small high spots: Grind or sand them down. A floor grinder works fast on concrete; an orbital sander handles wood. This removes the bump without adding material.
For low spots and dips: Fill them. Patching compound works for small areas. Self-leveling compound is better for larger depressions because it spreads evenly and cures hard.
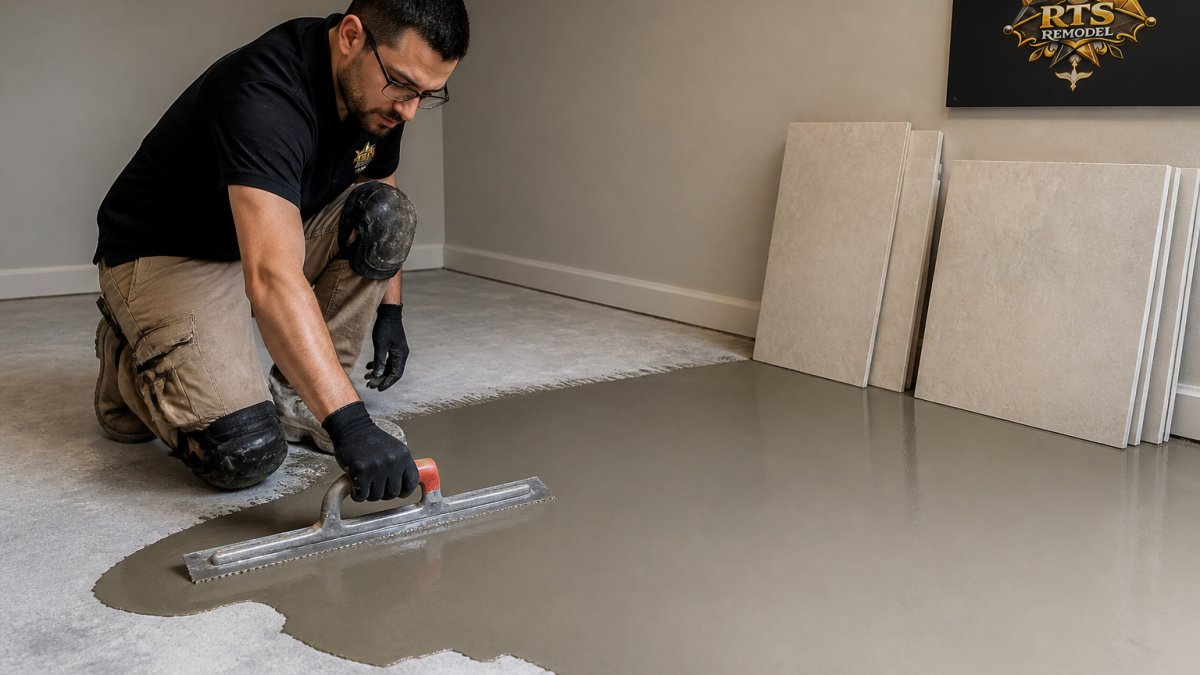
For widespread unevenness: Self-leveling underlayment is your best option. It flows across the entire floor and settles flat, which matters when installing large-format tile where minor variations become obvious.
Concrete and wood repairs both need to cure fully before tiling. Rushing this step causes failures later.
Self-Leveling Underlayment for Tile and Large-Format Tile Lippage Prevention
Self-leveling underlayment fills voids, hardens to a consistent surface, and prevents the lippage that ruins the look of big tiles.
It flows like water but sets hard, self-leveling across the floor to eliminate high and low spots in one step. Once cured, it provides a stable base for tile adhesive.
A 24x24 or 36x36 tile shows every imperfection, and lippage, the height difference between adjacent tiles, becomes visible from across the room. Self-leveling underlayment prevents this by guaranteeing a flat substrate.
Apply primer first if the manufacturer requires it, mix according to directions, and work quickly, it hardens fast. Follow the cure time exactly before tiling.
Proper substrate preparation is where professional Tile & Stone Installation makes the biggest difference. At RTS Remodel, we use self-leveling underlayment on nearly every large-format installation. It's the difference between a floor that looks sharp and one that looks rushed. Whether you're planning a complete bathroom remodel, kitchen remodel, or standalone tile project, getting the subfloor right is non-negotiable for a finished result that lasts.
Frequently Asked Questions
How flat does a floor need to be for large-format tile?
Large-format tile is far less forgiving than small tile. The larger the tile, the more visible any deviation becomes. Most manufacturers specify tolerances of 1/8 inch over 10 feet for large-format installations. Uneven subfloors cause lippage (uneven grout lines), poor adhesion, and tiles that rock or crack under foot traffic. Proper preparation before installation prevents costly failures later.
Can you install large-format tile over an uneven floor?
No. Installing large-format tile over an uneven subfloor will result in visible lippage, poor grout joints, and tiles that may not bond properly to the substrate. Thinset mortar cannot bridge large gaps or correct significant dips. The subfloor must be prepared and leveled first. Self-leveling underlayment or grinding/patching compounds are the right solutions before tile goes down.
When should you use self-leveling underlayment under tile?
Self-leveling underlayment works best for minor to moderate unevenness (up to about 1/4 inch variation). It flows to fill low spots and creates a smooth, flat surface for tile adhesive. For deeper dips, larger high spots, or wood subfloors with movement, you'll need to repair or grind first, then apply underlayment as a final leveling step. Always follow the manufacturer's curing time before tiling.
Uneven subfloors are one of the most common reasons tile installations fail. Getting the substrate right protects your investment and ensures your new tile floor stays beautiful for decades. If your subfloor needs assessment or preparation for large-format tile, contact RTS Remodel for a detailed estimate. We handle everything from substrate prep and waterproofing to final installation, ensuring every layer of your project is done right.