 How-to
Shower Waterproofing Before Tiling: A Step-by-Step Guide
Last Updated: October 25, 2026
Quick Summary
Shower waterproofing before tiling creates a complete barrier that stops moisture from reaching the substrate, preventing mold, rot, and tile failure. Apply either a sheet membrane in one layer or a liquid membrane in multiple coats, then seal all seams, corners, and penetrations before tiling.
- Install cement board or tile backer board fastened with corrosion-resistant screws every 8 inches
- Sheet membranes cover large flat walls faster; liquid membranes work better in tight corners and around obstacles
- Seal all seams, corners, and openings where water could penetrate, this is where most failures occur
- Allow the membrane to cure per manufacturer's timeline before tiling begins
Table of Contents
- Why Waterproofing Shower Walls Before Tiling Matters
- Preparing the Wall Substrate for Waterproofing
- Choosing Your Shower Waterproofing Membrane
- Frequently Asked Questions
Why Waterproofing Shower Walls Before Tiling Matters
Moisture behind shower tile is one of the most expensive problems a homeowner can face, which is exactly why shower waterproofing before tiling matters so much. Once water reaches the substrate, mold grows, framing rots, and tiles pop off.
Proper shower waterproofing before tiling stops this completely, keeping water on the surface where it drains away.
At RTS Remodel, we've seen the aftermath of shortcuts. The tile isn't the problem, it's what happens underneath when water gets through grout.
Preparing the Wall Substrate for Waterproofing
Your substrate is everything. A wet, unstable base ruins even the best membrane.
Strip existing tile, drywall, or damaged material to solid framing, and replace any soft or rotted studs now, they'll fail again otherwise.
Next, install cement board or a comparable tile backer; standard drywall absorbs moisture and fails.
Key steps:
- Fasten with corrosion-resistant screws every 8 inches
- Leave a 1/8-inch gap between boards and at corners
- Tape seams with alkali-resistant mesh tape, then skim with thin-set
Once your substrate is solid and flat, you're ready for waterproofing. Learn more about substrate prep techniques that ensure long-term durability.
Choosing Your Shower Waterproofing Membrane
Two membrane types protect shower walls: sheet and liquid.
Sheet membranes roll onto the substrate for a complete barrier in one layer; overlap seams generously and seal with tape.
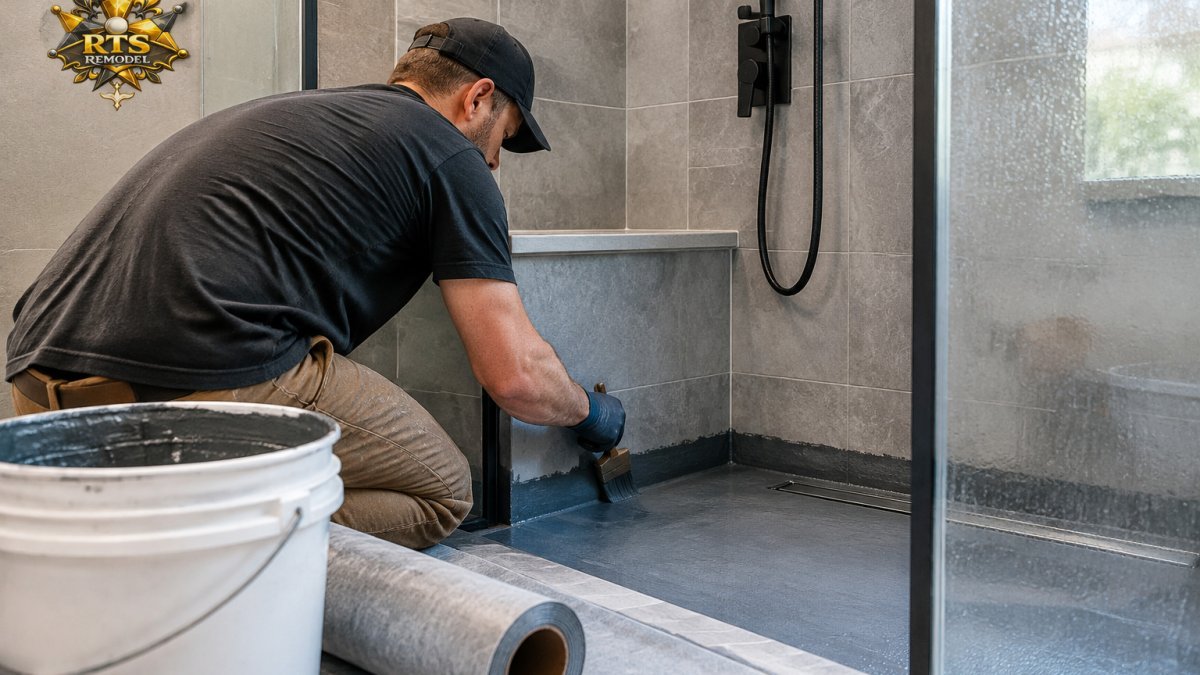
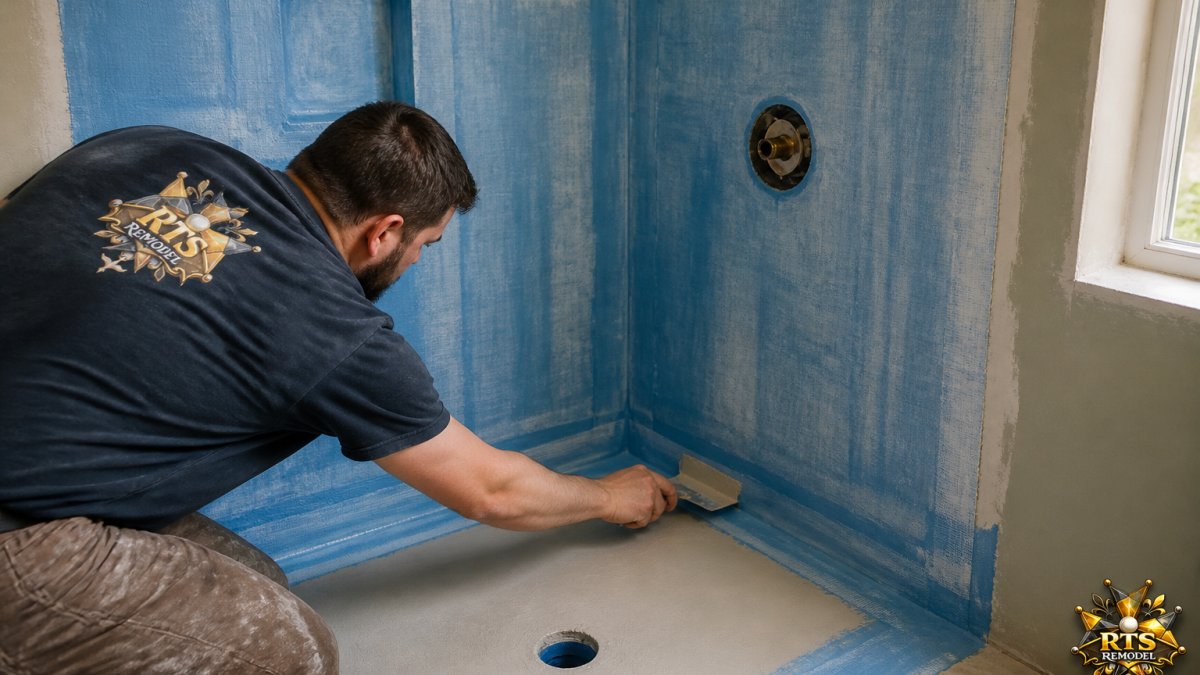
Liquid membranes go on like paint in two or three coats and excel in tight corners and around obstacles.
Sheet membranes are faster on large, flat walls; liquid suits complex geometry and heavy penetrations.
The critical step is sealing seams, corners, and any opening where water could sneak through, where most failures happen. Explore the differences between sheet and liquid waterproofing options to choose the right fit for your shower.
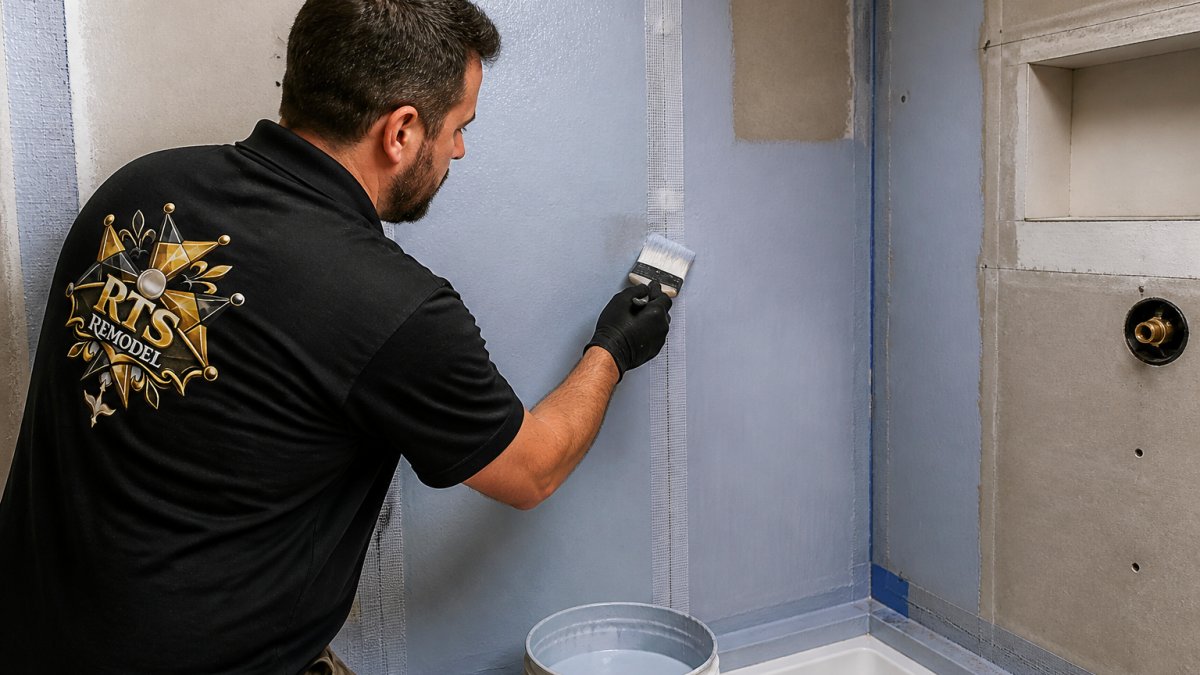
Once the membrane cures per the manufacturer's timeline, you can tile. Learn which tile materials work best with proper waterproofing to complete your shower solution. Water runs off the surface, and anything behind the tile hits the membrane and stays contained.
When you're ready to transform your bathroom, Custom Showers & Tile work from RTS Remodel handles every detail from substrate prep through final grout, including the waterproofing and stone or tile selection that keeps your shower dry for decades. If you're planning a larger overhaul, our Complete Bathroom Remodeling service covers the full scope, from layout and fixtures to the finished tile and waterproofing that protect your investment.
Sheet and liquid membranes each bring different strengths to shower waterproofing.
| Membrane Type | Application Method | Best For | Key Advantage |
|---|---|---|---|
| Sheet | Rolls onto substrate in one layer | Large, flat walls | Faster coverage |
| Liquid | Applied like paint in two or three coats | Tight corners and obstacles | Handles complex geometry |
Frequently Asked Questions
What is the best waterproofing for shower walls?
The best choice depends on your substrate and project complexity. Liquid membranes work well for corners and transitions because they conform to irregular shapes. Sheet membranes provide faster coverage for large flat areas. Both, when installed correctly over proper cement board substrate, offer reliable protection. The key is complete coverage with no gaps at seams or penetrations, that's where water intrusion starts.
Do shower walls need waterproofing behind cement board?
Yes. Cement board is water-resistant but not waterproof. Water will eventually pass through it if there's no membrane barrier behind the tile. A proper shower waterproofing system includes substrate preparation, a waterproofing membrane applied to the cement board, and sealed seams and corners. This layered approach prevents water from reaching the framing and causing rot or mold.
How long should shower wall waterproofing dry before tiling?
Most liquid membranes need 24 to 48 hours of drying time, depending on humidity and temperature. Sheet membranes can often be tiled sooner if properly adhered. Always check the manufacturer's instructions, rushing this step can trap moisture under the membrane and defeat the entire system. Proper drying ensures the membrane has cured fully and bonds correctly to the substrate.
Ready to plan your shower remodel? Contact RTS Remodel for an estimate and let's discuss your project needs.