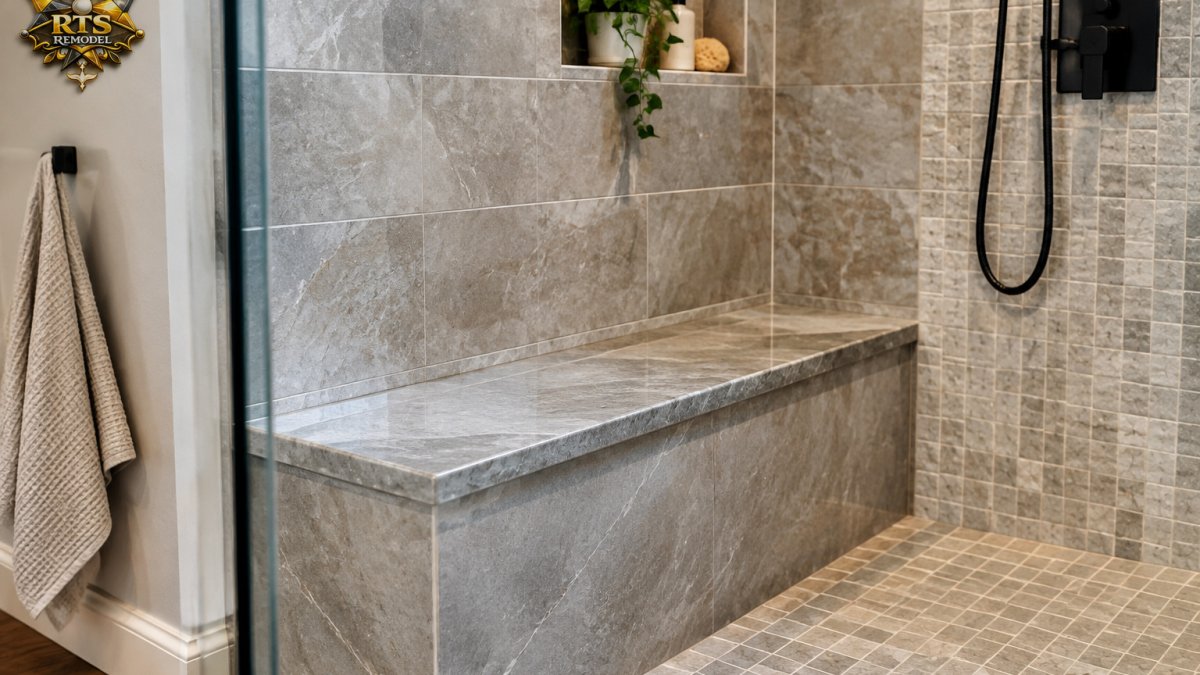
 How-to
7 Steps to Plan Waterproofing and Tile Sequence
Last Updated: October 28, 2026
Quick Summary
Waterproofing and tile always go in that order: prepare and inspect the substrate, install the membrane and seal corners, seams, screw holes and penetrations, then let it cure and flood test the pan before you set any tile with thin-set. Setting tile before the membrane cures is the number one sequencing mistake.
- Shower substrate preparation means making framing, backer board and floor structure flat, stiff and sound before waterproofing goes down.
- Plan tile layout before the first screw: measure walls and floor, center the drain, and map niche, bench and floor-to-wall junctions.
- After waterproofing cures, flood test the pan, set tile with thin-set, then grout the field and caulk changes of plane.
- Centering tile on a wall that isn't square is a common layout mistake, and fewer penetrations mean fewer places for water to get in.
Table of Contents
- Start With Shower Substrate Preparation
- Shower Tile Layout Planning Before the First Screw
- Waterproofing and Tile Sequence: What Goes First
- Frequently Asked Questions
Start With Shower Substrate Preparation
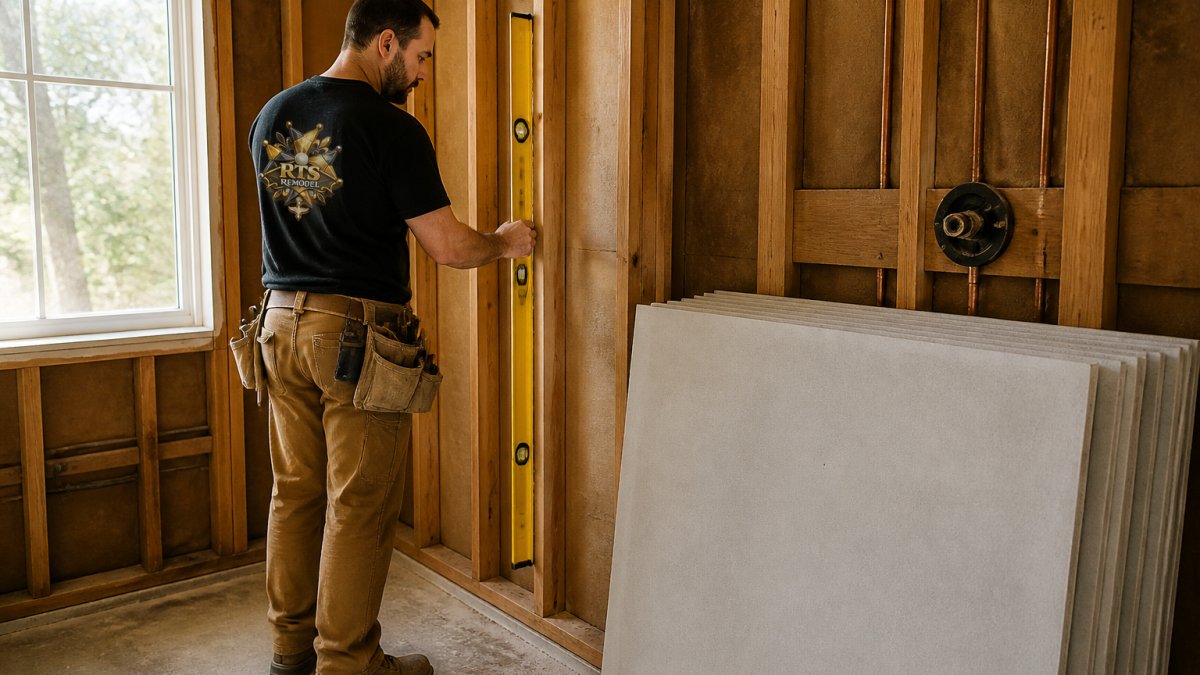
The waterproofing and tile sequence starts below the tile. Shower substrate preparation means making framing, backer board, and floor structure flat, stiff, and sound before anything waterproof goes down. Check the subfloor for movement, confirm flatness, fix framing first, and set the pan and curb with slope built in. For detailed steps that hold up over time, see our tile installation substrate prep steps. Skip this and the best waterproofing is wasted.
Shower Tile Layout Planning Before the First Screw
Shower tile layout planning decides where grout lines land and whether the finished shower looks intentional or improvised. Measure walls and floor, center the drain, plan niche and bench placement, and map the floor-to-wall junction. Keep the whole job organized with our bathroom remodel project management checklist. A common mistake is centering tile on a wall that isn't square. Fewer penetrations also mean fewer places for water to get in. For a full custom shower, our bathroom remodeling and custom shower work covers waterproofing.
Waterproofing and Tile Sequence: What Goes First
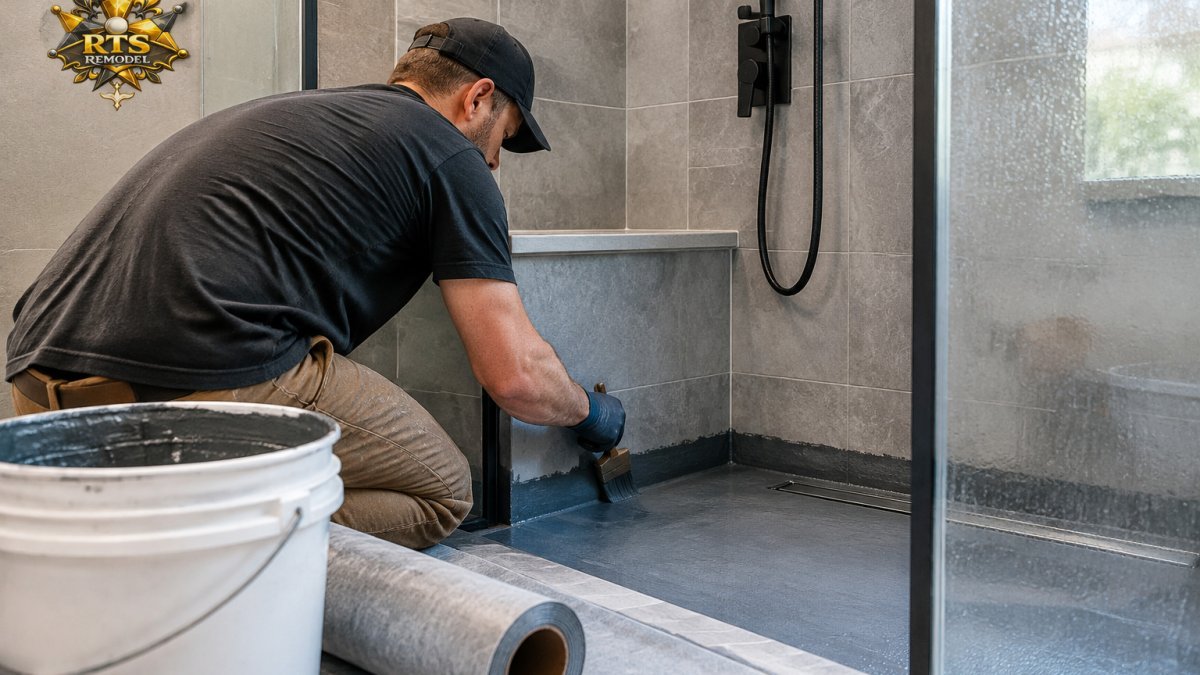
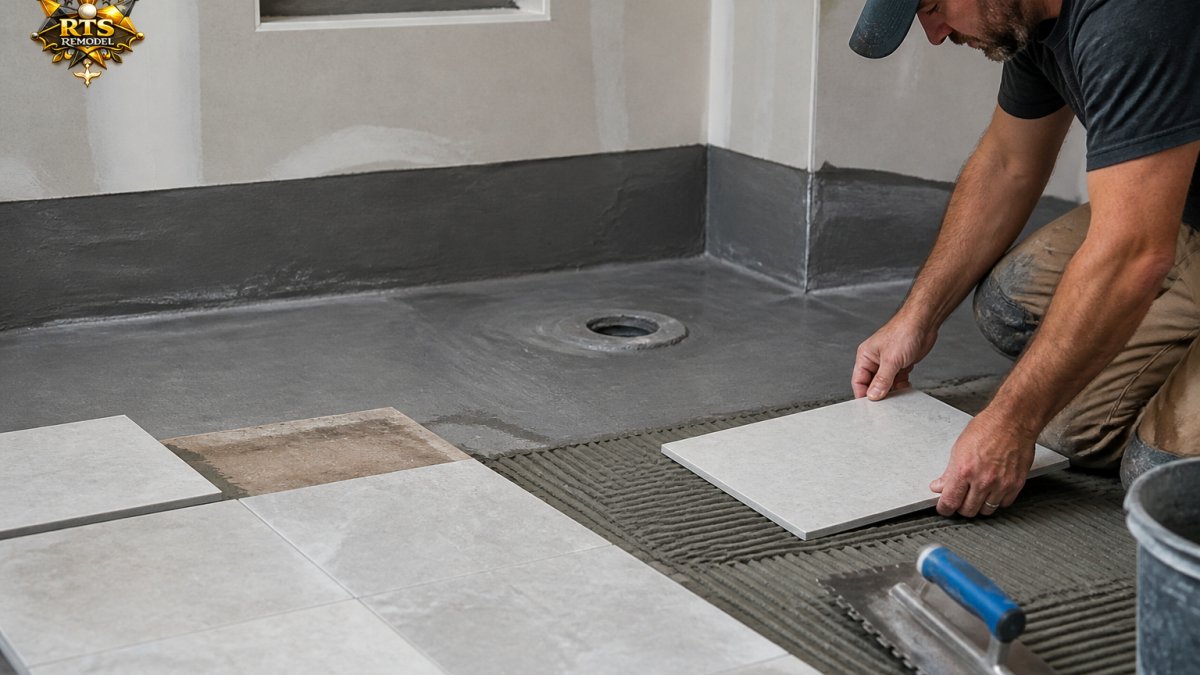
Waterproofing goes first, always. Tile goes over a finished, cured waterproof layer. Prepare and inspect the substrate, install the membrane and seal corners, seams, screw holes, and penetrations, band the junctions and niche, let it cure, flood test the pan, set tile with thin-set, then grout the field and caulk the changes of plane. Follow our shower waterproofing before tiling step-by-step guide for the full process. The number one sequencing mistake is setting tile before the membrane cures, you won't see the failure until water shows up downstairs. If you're still deciding on a system, our liquid vs sheet membrane waterproofing comparison breaks down the trade-offs.
| Step | What Happens | Watch For |
|---|---|---|
| Substrate prep | Flat, stiff, sound base | Flex and low spots |
| Waterproofing | Membrane over all surfaces | Missed seams and corners |
| Tile setting | Thin-set, full contact | Hollow spots |
RTS Remodel handles complete bathroom and kitchen transformations across Boise, Meridian, Eagle, Star, Kuna and the Treasure Valley, treating substrate prep, waterproofing, and layout as the foundation of the finish. Request an estimate for a shower or bathroom.
Frequently Asked Questions
What is the correct order for waterproofing and tiling a shower?
The order is fixed: prep and flatten the substrate, plan the layout, install the waterproofing system including corners, seams, and the drain connection, let it cure per the manufacturer, flood test if your system calls for it, then set tile.
Does tile grout make a shower waterproof?
No. Grout and caulk are the wear layer, not the waterproofing. Water passes through cementitious grout and sits against whatever is behind the tile. That is why the waterproofing and tile sequence matters so much: the membrane or waterproof panel behind the tile does the real work. If a contractor tells you grout alone seals a shower, that is a red flag worth asking about.
How long should you wait to use a shower after tiling?
Plan on waiting at least 72 hours after grouting before the first shower, and longer if the grout or sealant label specifies it. Thin-set and grout need time to cure, and water too early can weaken both. Your installer should tell you the exact window for the products used. Rushing this step is a common cause of grout discoloration and premature failure.