 How-to
How to Plan Small Bathroom Heated Floor Installation
Last Updated: October 26, 2026
Quick Summary
Small bathroom heated floor installation starts with layout, not wire: plan fixtures first, then the mat, then tile, so you never cut a paid-for heating cable. Measure free floor area rather than room square footage, and keep the mat out of the vanity footprint and a few inches clear of the toilet flange and floor register.
- Sketch tile lines first, fit the mat inside them, and leave a doorway gap for a transition strip.
- A loose cable often beats a mat in a small bath because it snakes around obstacles.
- Keep the floor sensor in an open, trafficked spot, not behind the door or under a rug.
- Skipping the flatness check is the most common reason heated floors crack tile later.
- Run the floor sensor in a conduit so it can be replaced without chipping tile.
Table of Contents
- Bathroom Floor Heating Layout for a Small Space
- Bathroom Tile Substrate Preparation Before the Mat Goes Down
- Heated Floor Thermostat Placement and Wiring
- Frequently Asked Questions
Bathroom Floor Heating Layout for a Small Space
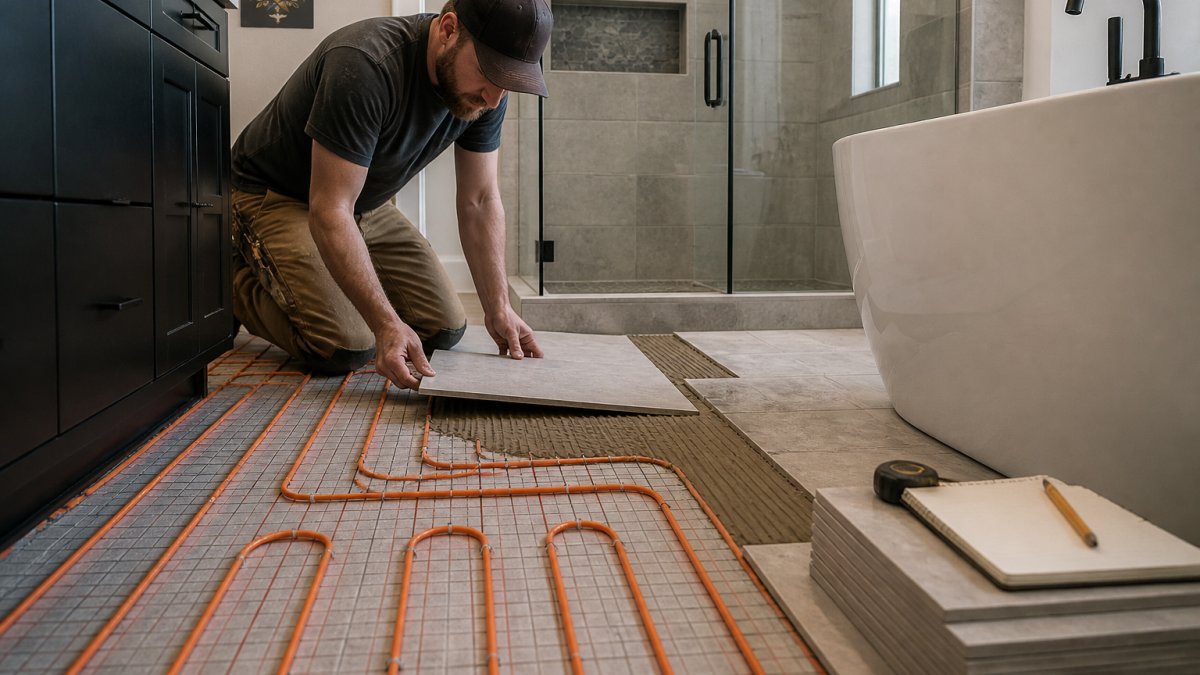
Small bathroom heated floor installation starts with layout, not wire. The mat has to fit around the toilet flange, vanity, and door swing before you commit to tile.
At RTS Remodel, we plan fixtures, then mat, then tile. Get that sequence wrong and you'll cut a heating cable you paid for.
Keep the mat out of the vanity footprint and a few inches clear of the toilet flange and any floor register.
In small baths, measure free floor area, not room square footage. Sketch tile lines first, fit the mat inside them, leave a doorway gap for a transition strip, and keep the sensor in an open, trafficked spot.
A loose cable often beats a mat in a small bath because it snakes around obstacles; mats win on speed where the floor is a clean rectangle.
Before locking in a layout, weigh the benefits of heated bathroom floors in Treasure Valley and choose flooring options for small bathrooms alongside it, not after.
Here is how the layout decisions break down before any wire or thinset goes down.
| Item | Rule | Note |
|---|---|---|
| Planning sequence | Fixtures, then mat, then tile | Wrong order risks cutting a paid-for cable |
| Vanity footprint | Keep the mat out | Plan around the vanity area |
| Toilet flange and floor register | Stay a few inches clear | Keep mat away from both |
| Measuring | Free floor area, not room square footage | Small baths need usable area only |
| Doorway | Leave a gap for a transition strip | Sketch tile lines first |
| Floor sensor | Open, trafficked spot | Not behind the door or under a rug |
| Loose cable vs. mat | Cable snakes around obstacles; mat wins on clean rectangles | Mats are faster on a clean rectangle |
Bathroom Tile Substrate Preparation Before the Mat Goes Down
Heated floor installation fails at the substrate far more often than at the wire. The mat is only as good as the surface under it.
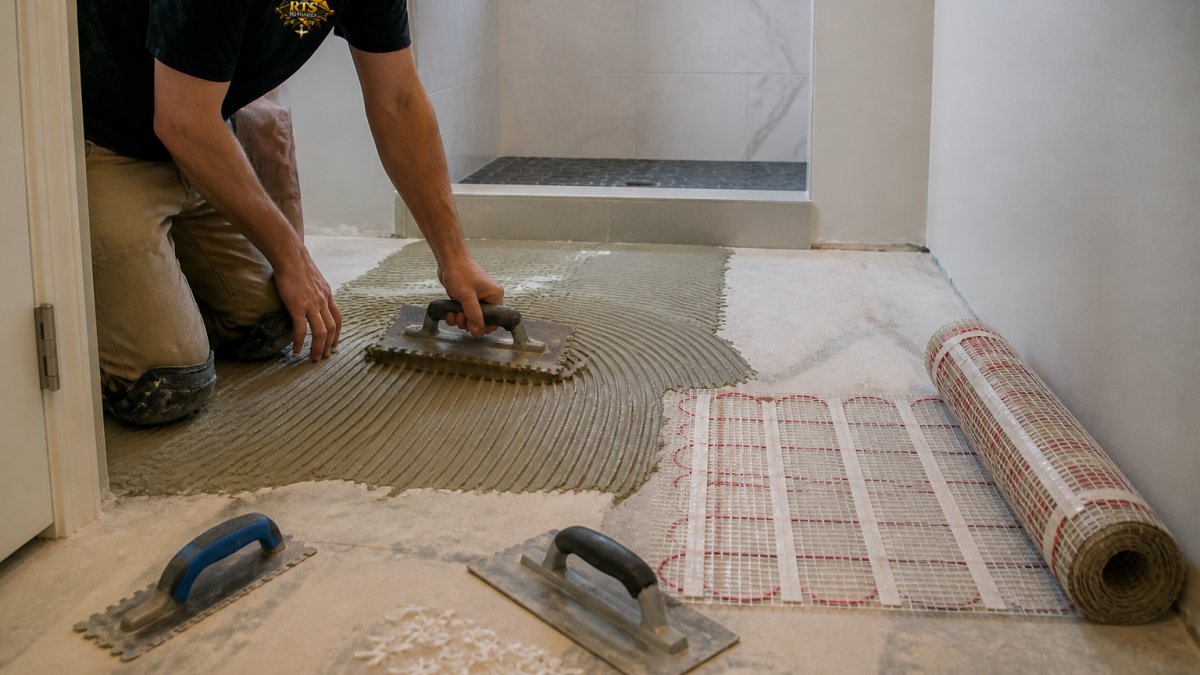
Start with a floor that is flat, sound, and clean. In older baths, that means pulling the old tile and checking for soft spots, cracked screed, or a hump at the door.
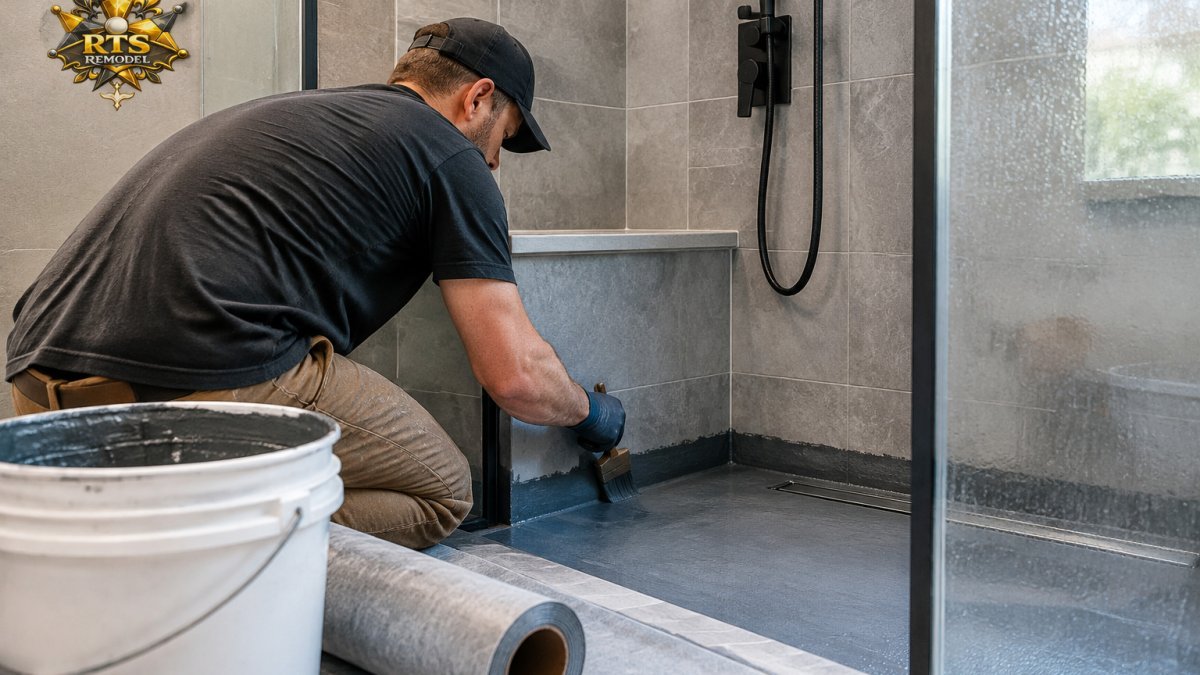
Our prep: remove old flooring to a stable substrate; check deflection and fix soft areas; fill low spots and grind high spots; vacuum and prime per the membrane maker's spec; waterproof where the mat meets walls and the shower edge; then embed the mat in thinset and cure before tile.
Skipping the flatness check is the most common reason heated floors crack tile later, a mat over a hump gets point-loaded with every step.
The full process is in our guide to tile installation substrate prep, and preparing uneven subfloors for large-format tile covers flattening before the mat goes down.
Heated Floor Thermostat Placement and Wiring
Thermostat placement decides whether the floor feels warm or uneven. Put the sensor where the floor is open and walked on, not behind the door or under a rug.
Wiring rules we don't bend: a dedicated circuit; a GFCI breaker for wet-area floor heat; the thermostat on an interior wall out of direct sun; the floor sensor in a conduit so it can be replaced later; and wire connections in a junction box, never buried in thinset.
A common mistake is burying the sensor in mortar with no conduit. If it fails, you're chipping tile. Run it in a small tube and label the lead at the wall.
Once wiring and thermostat work come up, many homeowners hand the whole bath to a pro. Our bathroom remodeling and custom shower work covers waterproofing, large-format tile, niches, and finish details in one scope, and because heated floors pair naturally with a full transformation, that same crew handles everything from Complete Bathroom Remodeling to Tile & Stone Installation, so the mat, membrane, and tile are planned as one system rather than pieced together by separate trades.
Frequently Asked Questions
How is a heated floor installed in a small bathroom?
The mat goes down over a sound, flat substrate, usually cement backer board or a self-leveling underlayment. You test the mat's resistance, embed it in thinset, then tile over it with a modified mortar rated for radiant heat. A dedicated circuit and a floor sensor in the thermostat complete the system. In a small bath, the layout matters most: keep the mat off the toilet flange and vanity footprint, and leave room for the sensor.
Can a heated floor be installed over an existing bathroom floor?
Sometimes, but the existing floor has to be sound, flat, and free of cracked tile or loose substrate. A common approach is to remove the old finish, repair the subfloor, and add a cement backer board or uncoupling membrane before the mat. Skipping that step is how heated floors fail. Have the substrate checked before you commit to going over it.
Does a small bathroom need a dedicated circuit for floor heating?
Most small bathroom heated floor installation does require a dedicated circuit, sized to the mat's amperage and protected by a GFCI breaker. The thermostat and mat draw continuous power, so sharing a circuit with outlets or lighting is a code and safety problem. A licensed electrician should confirm the load and run the circuit before the tile goes down.
Planning a heated bathroom floor means getting the layout, substrate, and wiring right before the first tile goes down. At RTS Remodel, we handle the hidden work, waterproofing, flat substrate, and clean wiring, so the finished floor performs for years. Get started with RTS Remodel and request an estimate for your bathroom project.